Product Search
Manufacturers
Email Newsletter
Woody's Projects
In the Press
Start Your Build
|
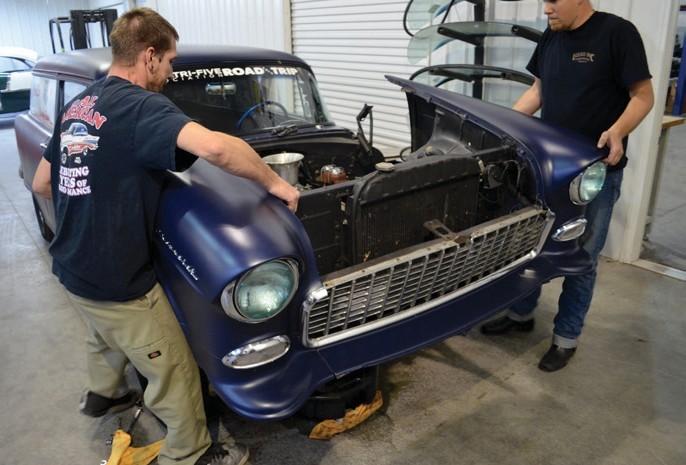
Tech Talks Removing the Front End in Full
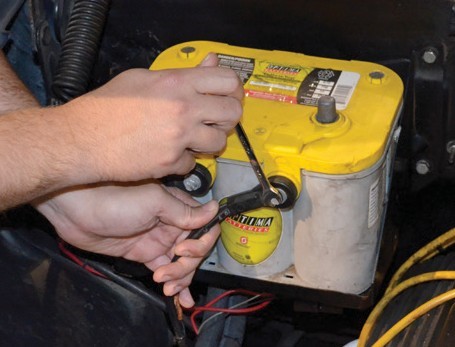
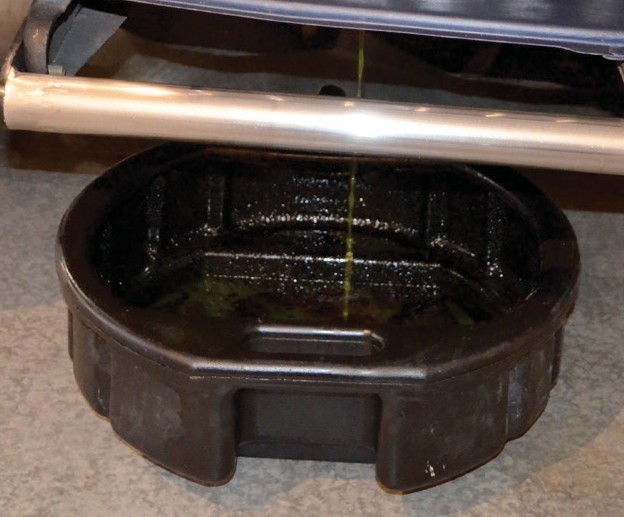
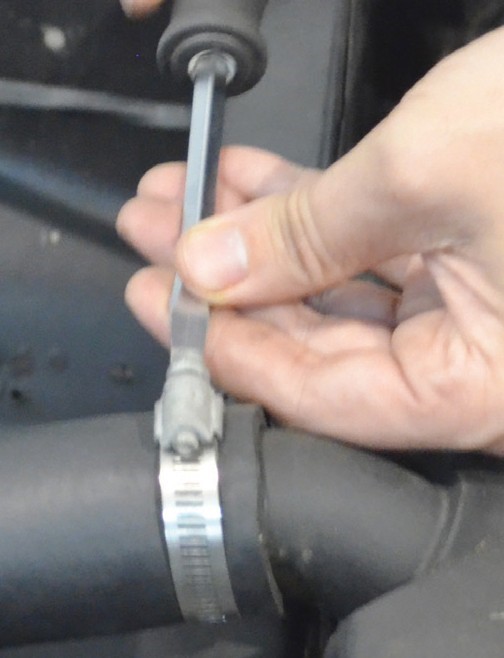
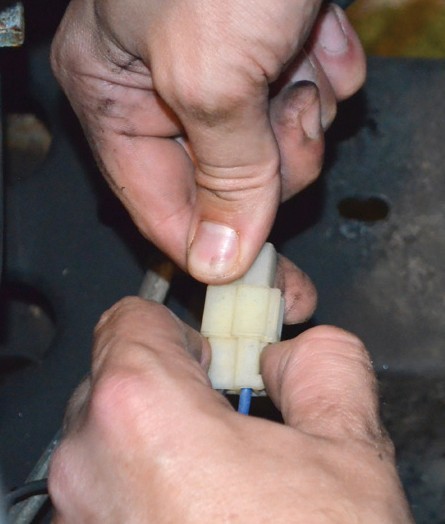
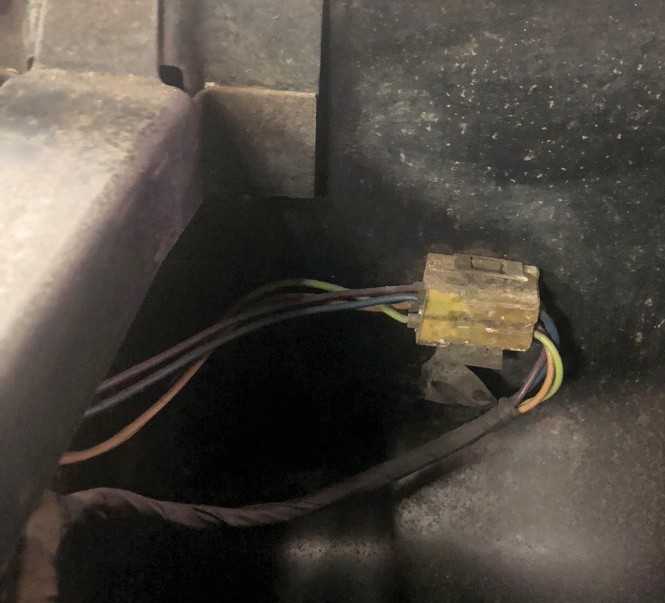
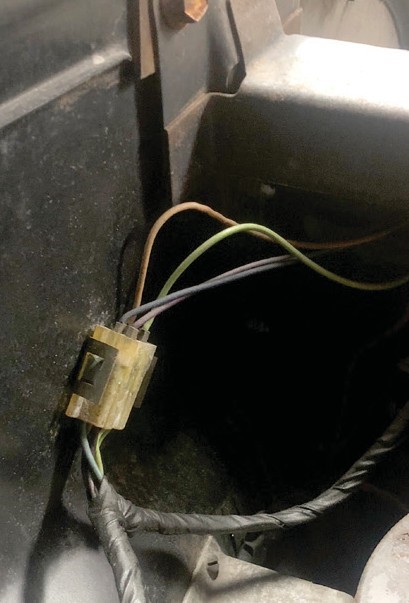
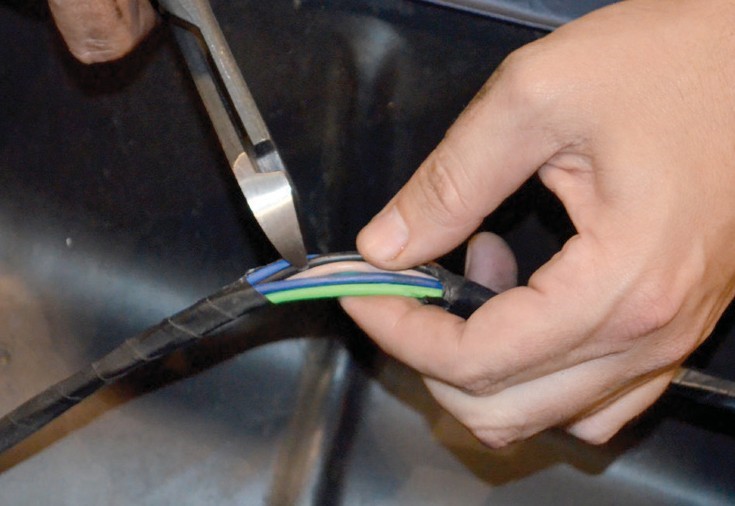
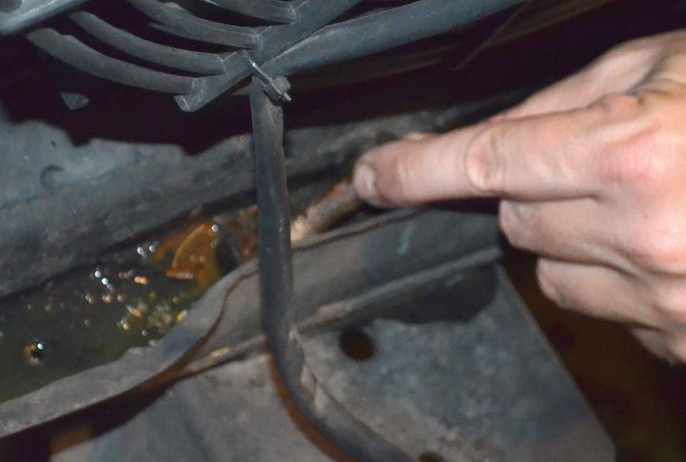
For the past going on 20 years, I worked on the engine bay of any one of my ‘55s as most do; hanging over the fender, bending my 6’4” frame down into the bay, and at times fighting a core support bay, if I was installing an engine. I envied everyone with a tilt-front every time I folded myself into a tight spot, or laid on a fender for hours on end. Turns out, after all that time, I didn’t need a tilt front; I needed a few tools, an extra pair of hands, and a little direction. Until I started at Woody’s Hot Rodz, I’d never seen anyone simply remove the front end of one of these cars all in one piece, but day one, I noticed almost every car in the shop with the doghouse off of it. I thought it odd at first, but upon explanation from the guys in the shop, it made perfect sense. Full access, no worries of damaging paint, and it really turned into a no brainer. The way the splash pan, inner fenders, and core support are all attached together, the front end is easily removable all in one piece, and the following article will show you how! As with any project involving some level of electrical components, unhooking the battery is step one. Cheap and easy insurance is what this is.Most of the process shown here is indeed a two man job, so entice a buddy with beverages, pizza, what- have-you, and jump in. Hood removal is first: I find it easiest to put my shoulder against the hood, cradle the bottom of the hood with my opposing hand, and take it loose. A blanket/fender cover can be additional insurance here, in case anything slips out of hand. With the hood unbolted, carry it off to a safe place Now, with our hood out of the way, we’ll start all the fun stuff. Draining antifreeze is a must, since the radiator will stay with the front clip, unless you choose to/need to remove or replace. Helpful hint: jacking up the back of the car will force antifreeze in the block towards the front, making for less of a mess upon radiator hose, and/ or engine removal. Once your antifreeze is drained, radiator hoses will need removed. Basically, anything connecting the engine to the front clip itself, or components bolted to such, needs to be separated. The sedan delivery in question is a stick car, so we don’t have transmission lines to combat, but the auto guys will need to unhook cooler lines from the radiator as well. Have A/C? You’ll need to remove those lines from the condenser, however you see fit. Radiator fan has to be unplugged as well. Don’t forget, it’s no fun to find out when the whole front end is in your hands. Front light harness is next. There will be connectors both on the passenger side and driver’s side. Simply unplug, pull the harness back, and set it up against the cowl, out of the way. Keen eyes will notice the last picture is not the same car. Many times, you’ll run into modifications; my sedan delivery, in particular, was rewired using a “universal” aftermarket harness, so the front light harness plugs are nowhere in sight. A simple snip of the harness leading to those items will free it all up though. Front bumper (or in this case, push bar) will need to be removed. Unbolt, and stash away accordingly.
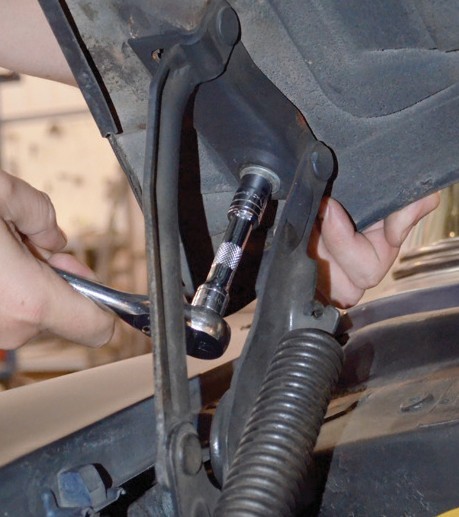
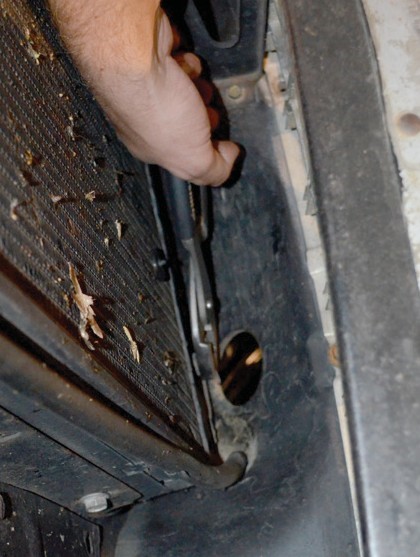
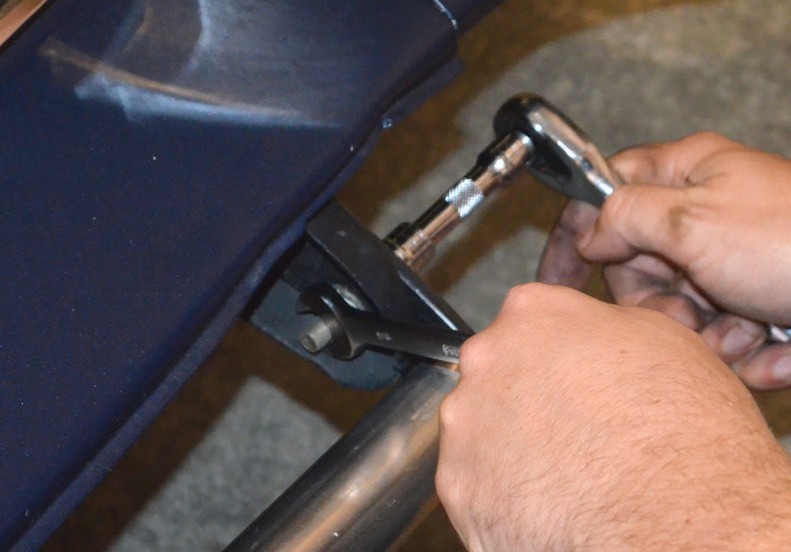
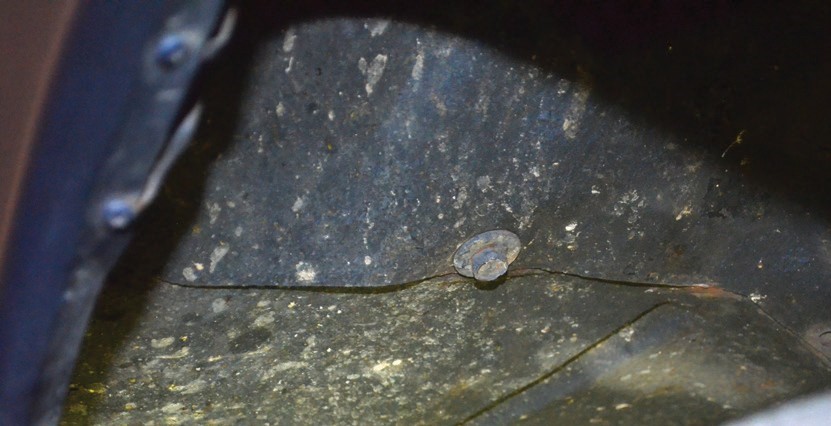
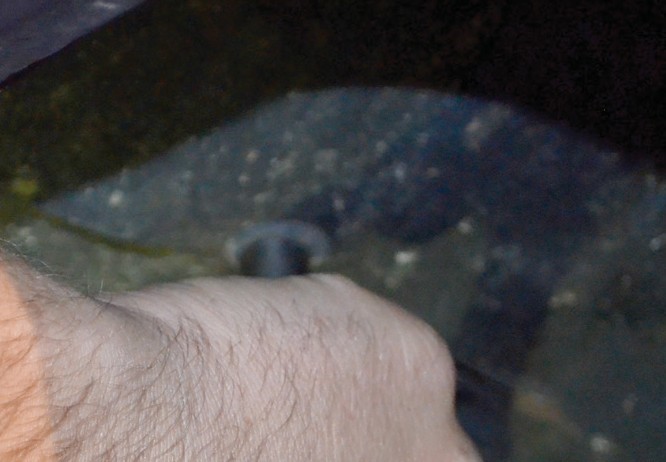
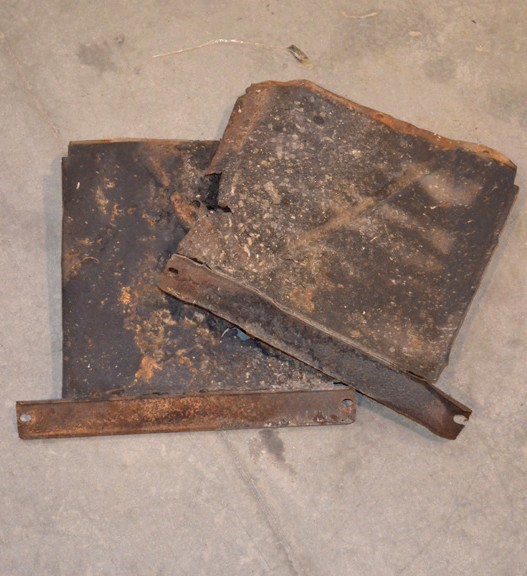
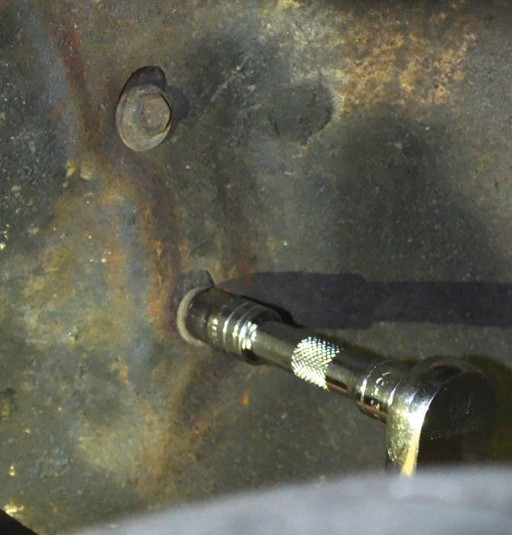
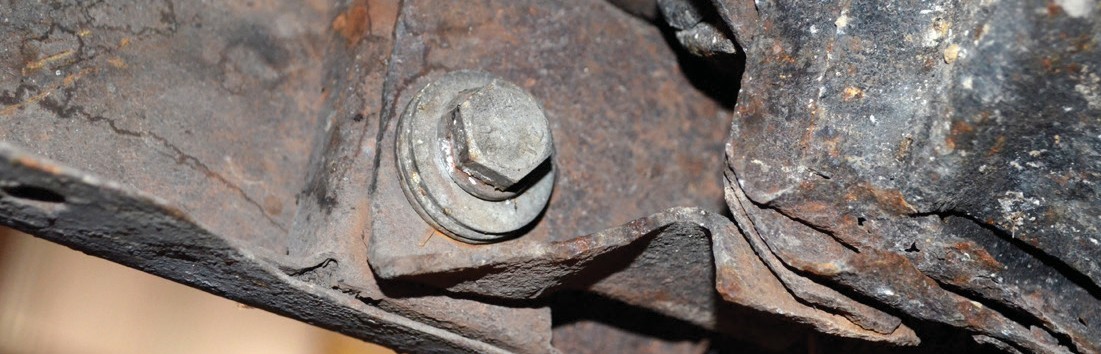
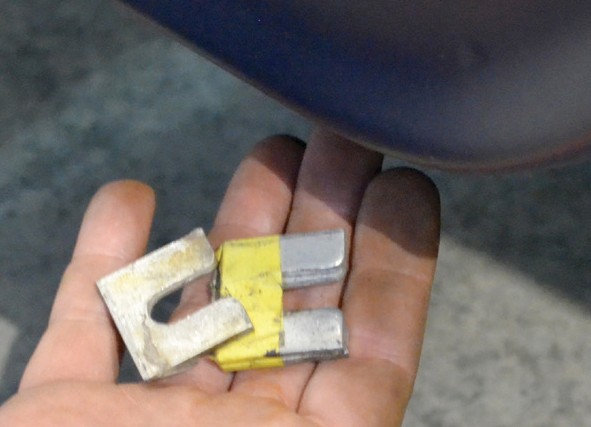
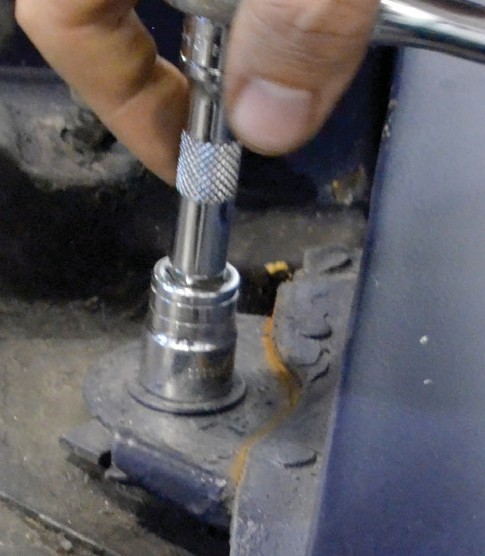
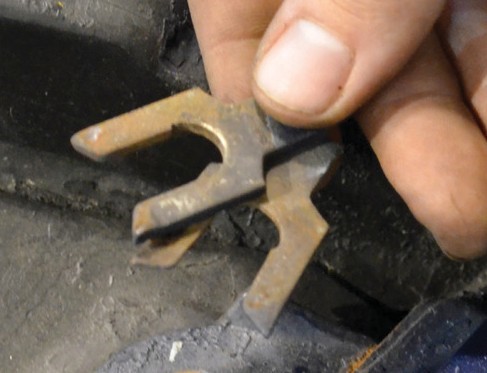
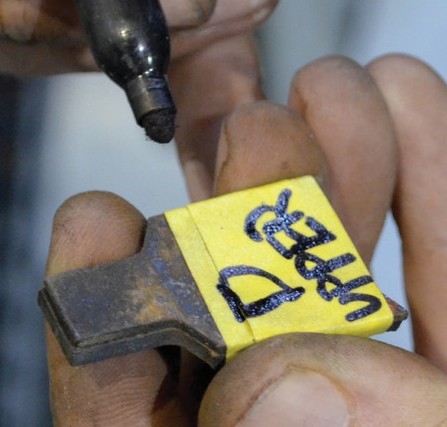
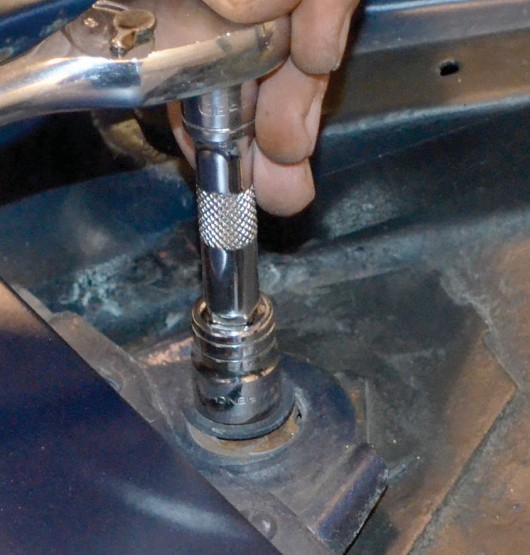
Make sure to completely remove the carriage-head bolts from the core. The less you can get hung up on the better. I'd go ahead and remove the lower splash pans from the inner fender when doing this. The additional clearance to the tire (read: not having to remove the front wheels) makes life easier. Start with the three upper bolts, then move on to the lower. This will keep the splash pan from falling once it comes loose. This pair has seen some better days. Thankfully, reproductions are available, though this one won’t be getting inner fenders in its next configuration (see page 36 featuring this car on another tech article in this magazine). Next, there are two vertically mounted bolts that need removed. These support the back of the inner fender to the vertical firewall supports via an L-bracket, which can remain bolted to the firewall side. Lower fender bolts are your next stop. A liberal helping of penetrant may be needed here, depending on how long this has all been together, as these typically pick up their fair share of road grime. We’ve come to the first part of the car where traditional body shims will likely be found. The lower shims will space the fender out to match the contour correctly, there will be no uniform number of shims. Not uncommon for the lower bolt to loosen up and these fall out all together, either. If everything fits well, simply keep track of what shims go where. If not, use the reinstallation as time to fit it better than it was! With both lower fenders undone, it’s time to undo the tops. Don’t worry, there’s enough weight sitting on it that it shouldn’t move around wildly on you. If you’re worried about movement, or simply don’t trust yourself/your helps, some masking tape on the leading edge of the fender/door at this point might not be a bad idea. Just like the bottom, body shims will almost always be present. The upper shims in particular locate the fenders vertically. Helpful tip: Tape your shims together, and label where they go. This will take a fair amount of the guesswork out of the reinstall. Remove the opposing side upper fender bolt and shims next. At this point, the front end is 100% free from the car. While holding up on the front end (my preferred spot is in the headlight eyebrow and the top of the fender opening), gently lift up, and move the front clip forward. Once the front end is clear of the doors/cowl, you can lift up high enough to clear the tire (remember, made easier by removing the lower inner fender extension), and move forward away from the car. …and just like that, your front clip is off in one piece and away from the car, allowing any number of tasks to be completed without leaning into the bay, and without worry of any damage to the paintwork. 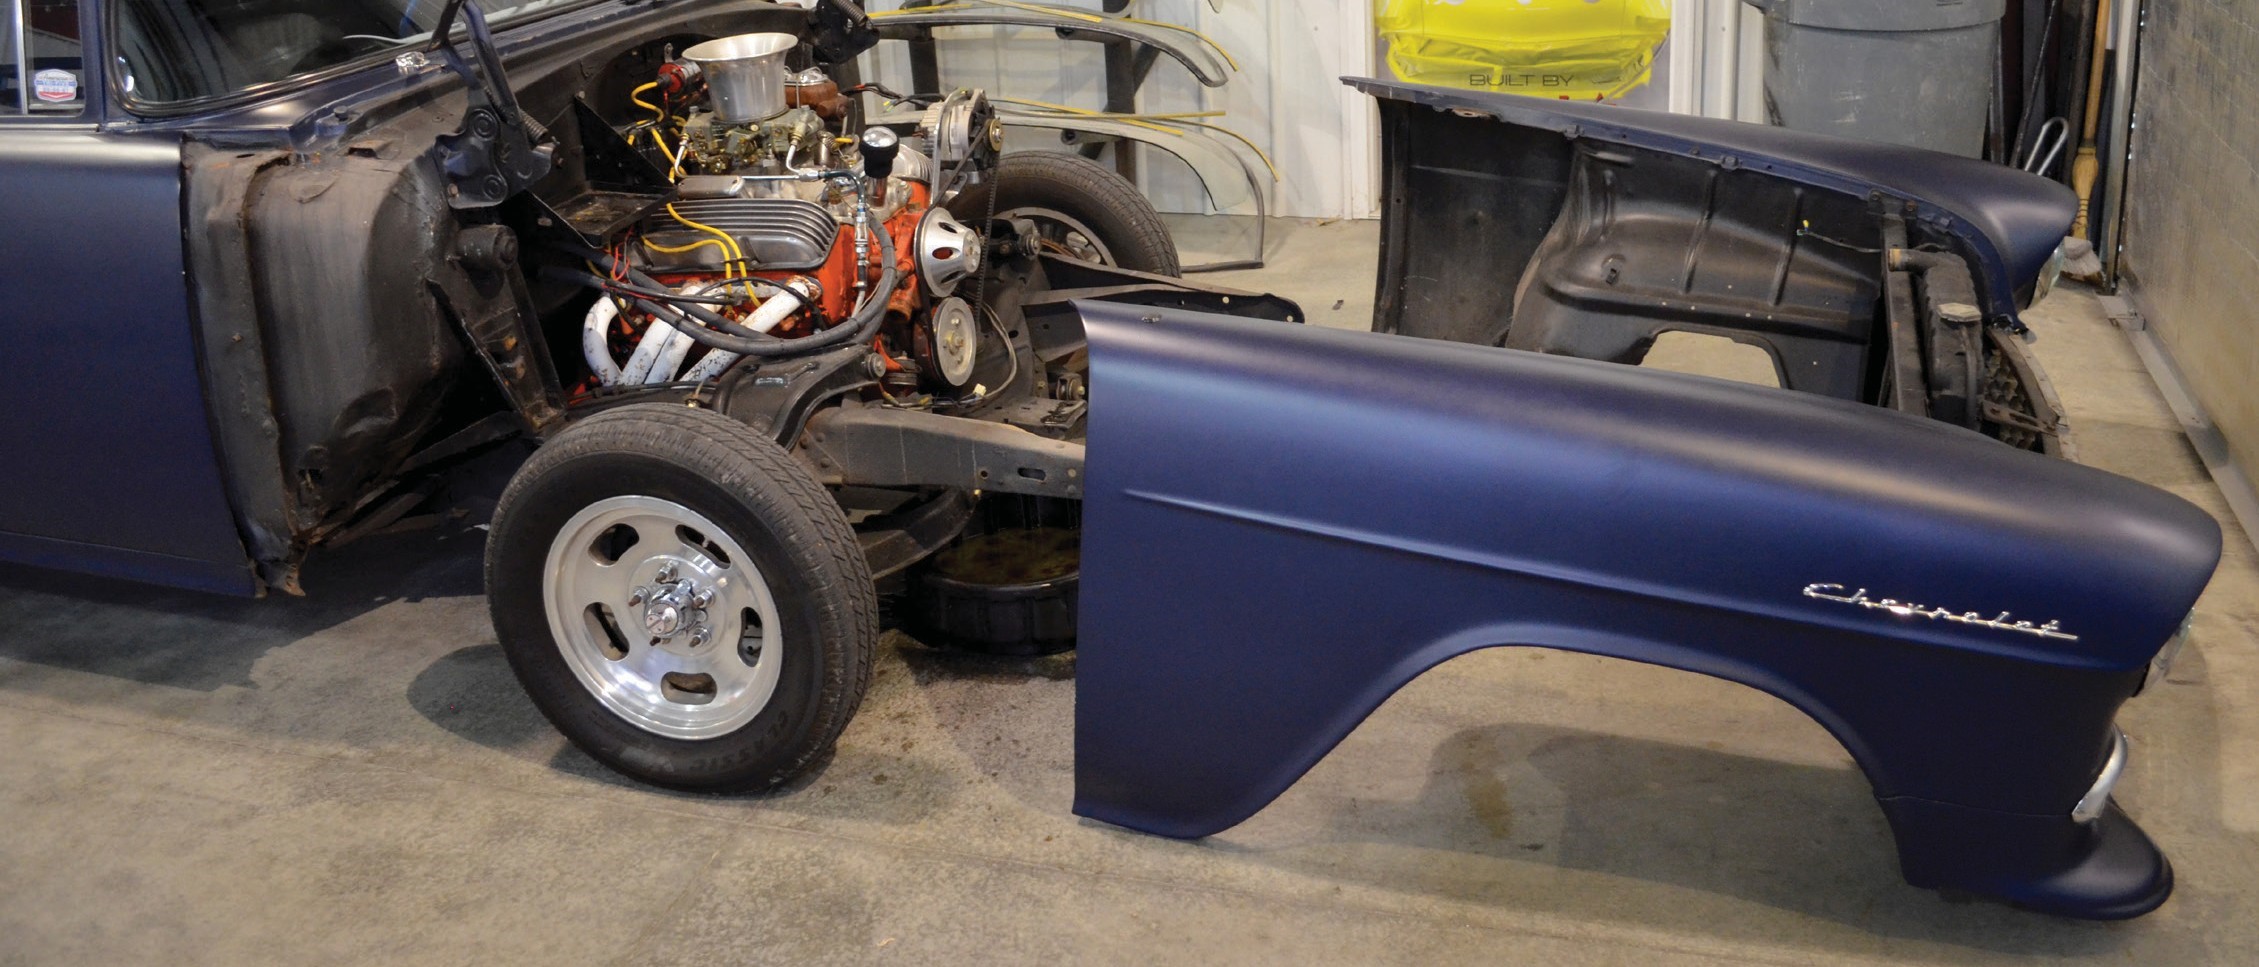 . .To order your Sheet Metal, visit HERE For a printable version of instructions, visit HERE. Brought to you by the American Tri-Five Association. |